

1
Download Qualia
Get the desktop app from quadrillion.ai/download. See Getting Started for the per-platform install details and first-launch prompts.
2
Open your workspace
Launch Qualia and open the folder where your data lives, or connect to a remote workspace if the data sits on another machine. Any CSV, Parquet, Excel, or other data file in that folder is immediately available to the agent — there is no import or upload step.
3
Start with a prompt
Describe what you want in the chat box, for example “explore sales_q3.csv”. If the file is not in your workspace yet, attach it with the paperclip, and if you would rather not start from a blank page, click one of the example prompts below the chat box.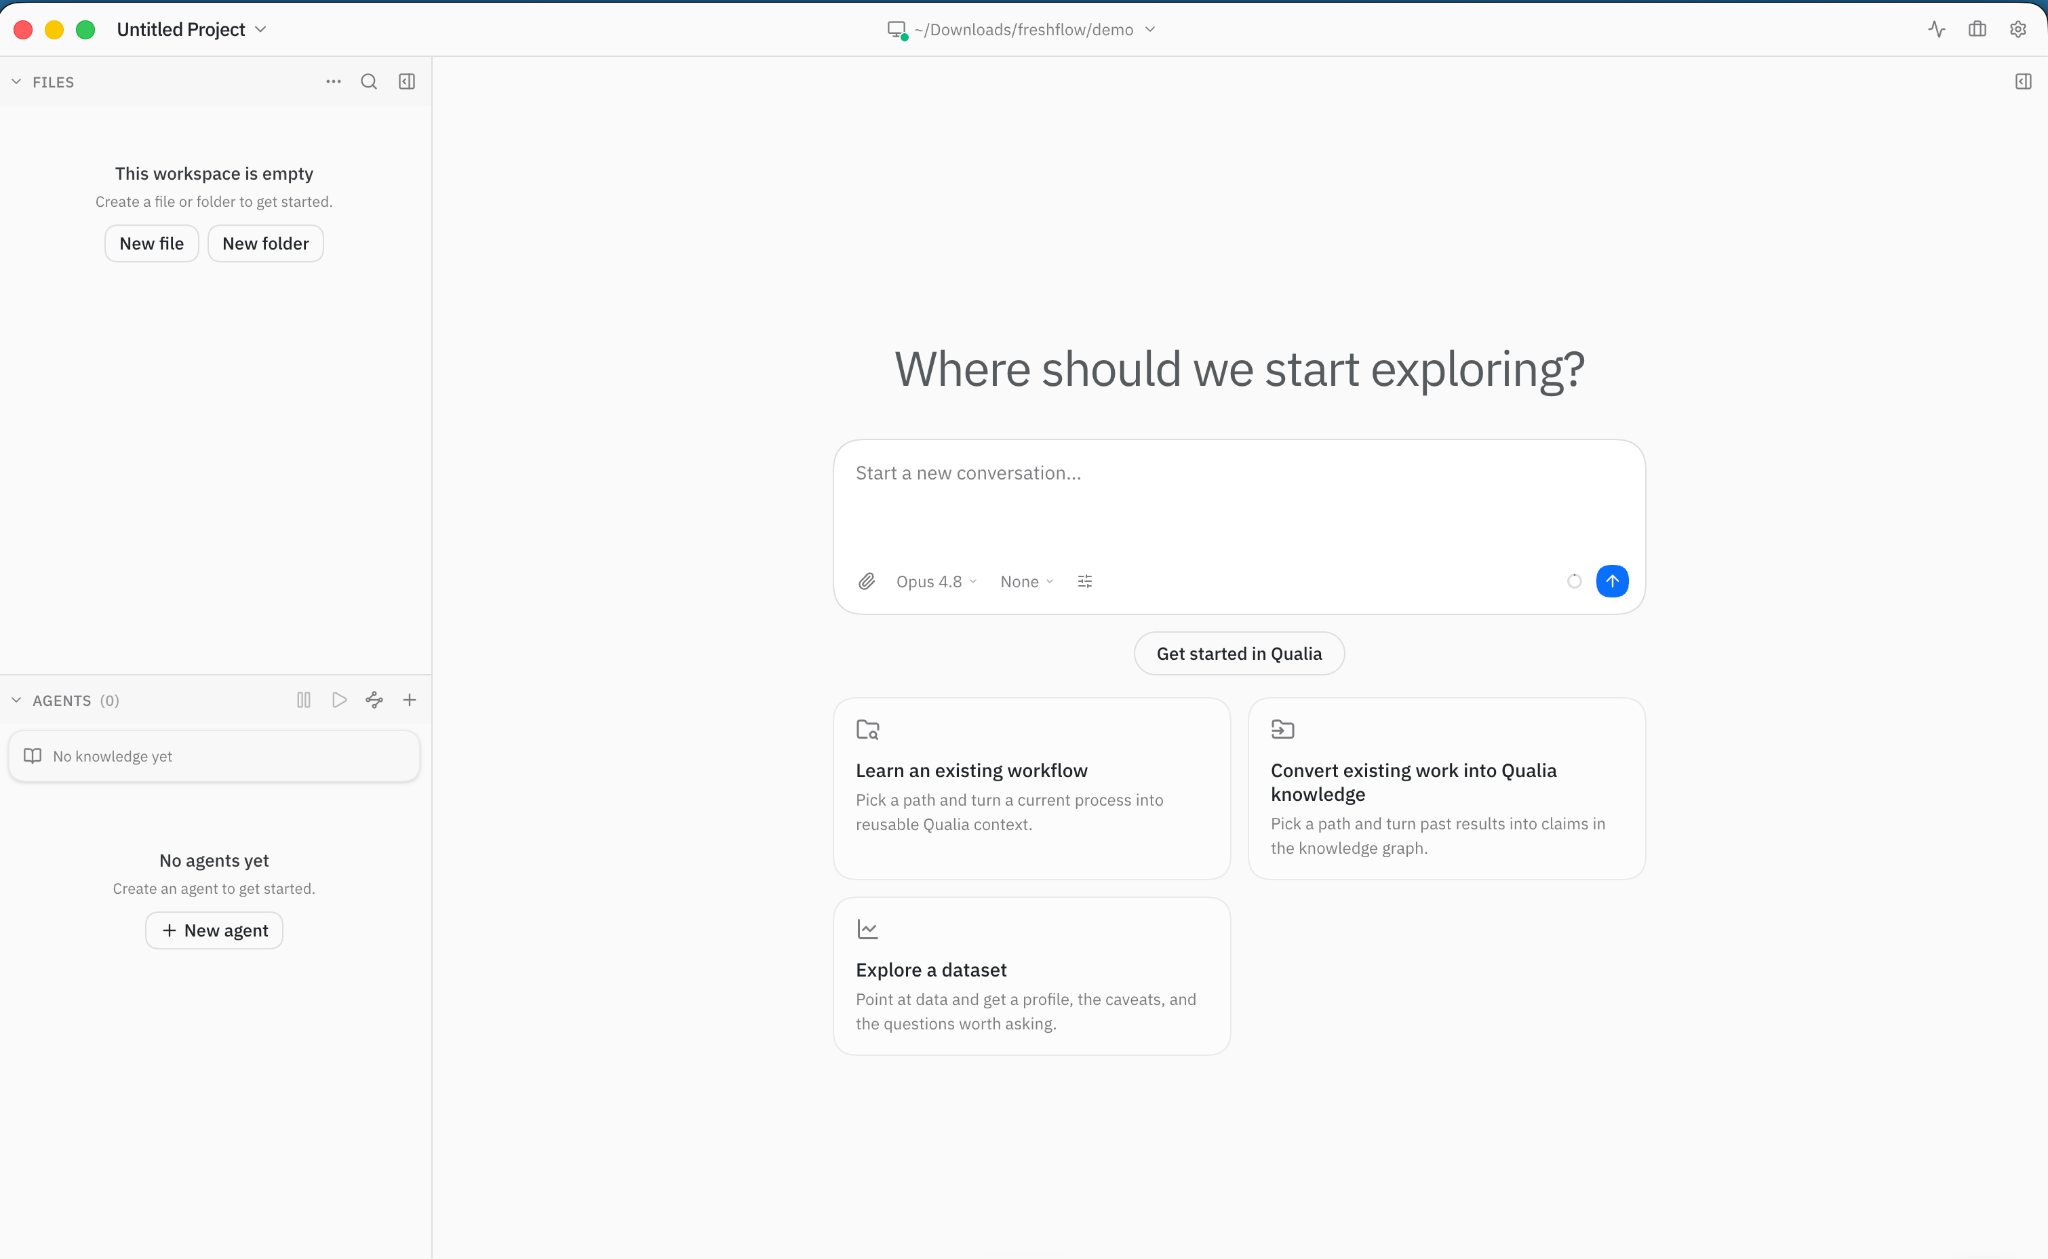
4
Watch the analysis happen in a notebook
The agent loads your data and runs the analysis in a real Jupyter notebook, narrating what it found in the chat panel as it goes. Every cell is normal, editable code: rerun it, change it, or add your own — and you can also just describe the change you want in chat and let the agent make it.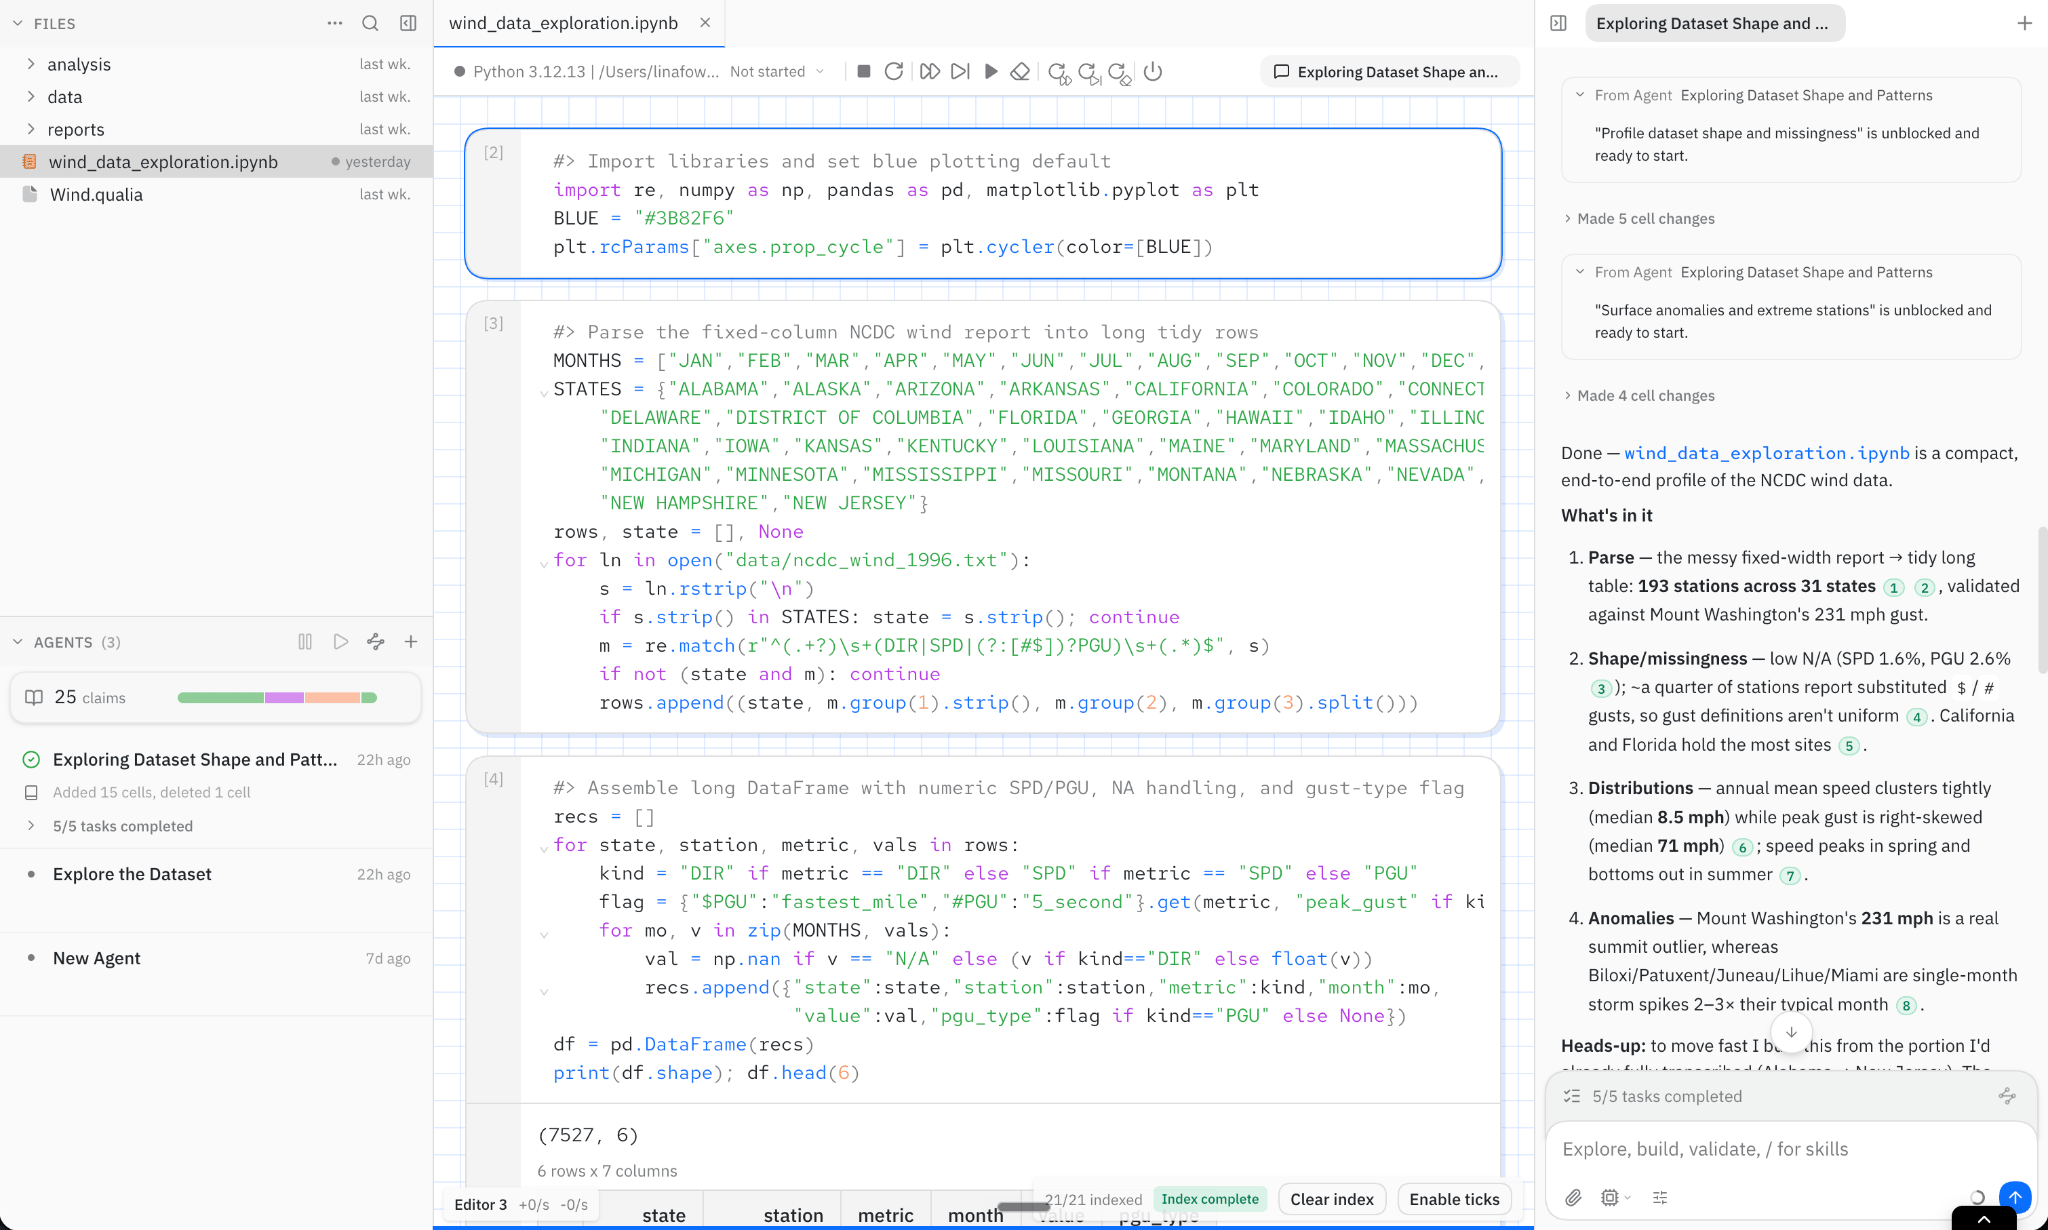
5
Follow parallel work in the task map
For bigger questions, Qualia splits work across parallel agents. Click Project in the titlebar to see tasks and their dependencies beside the Knowledge list. Select a task for details.
6
Run a skill
Skills are saved workflows you can invoke on demand instead of re-explaining a process every time. Press 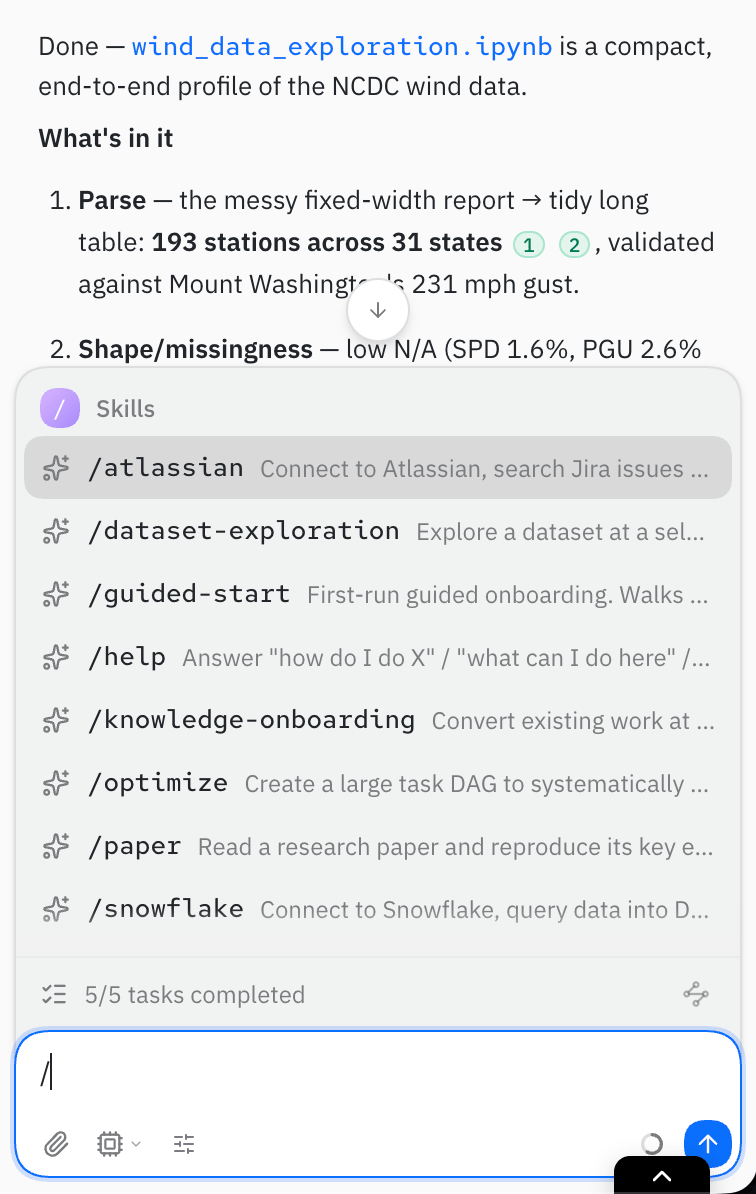
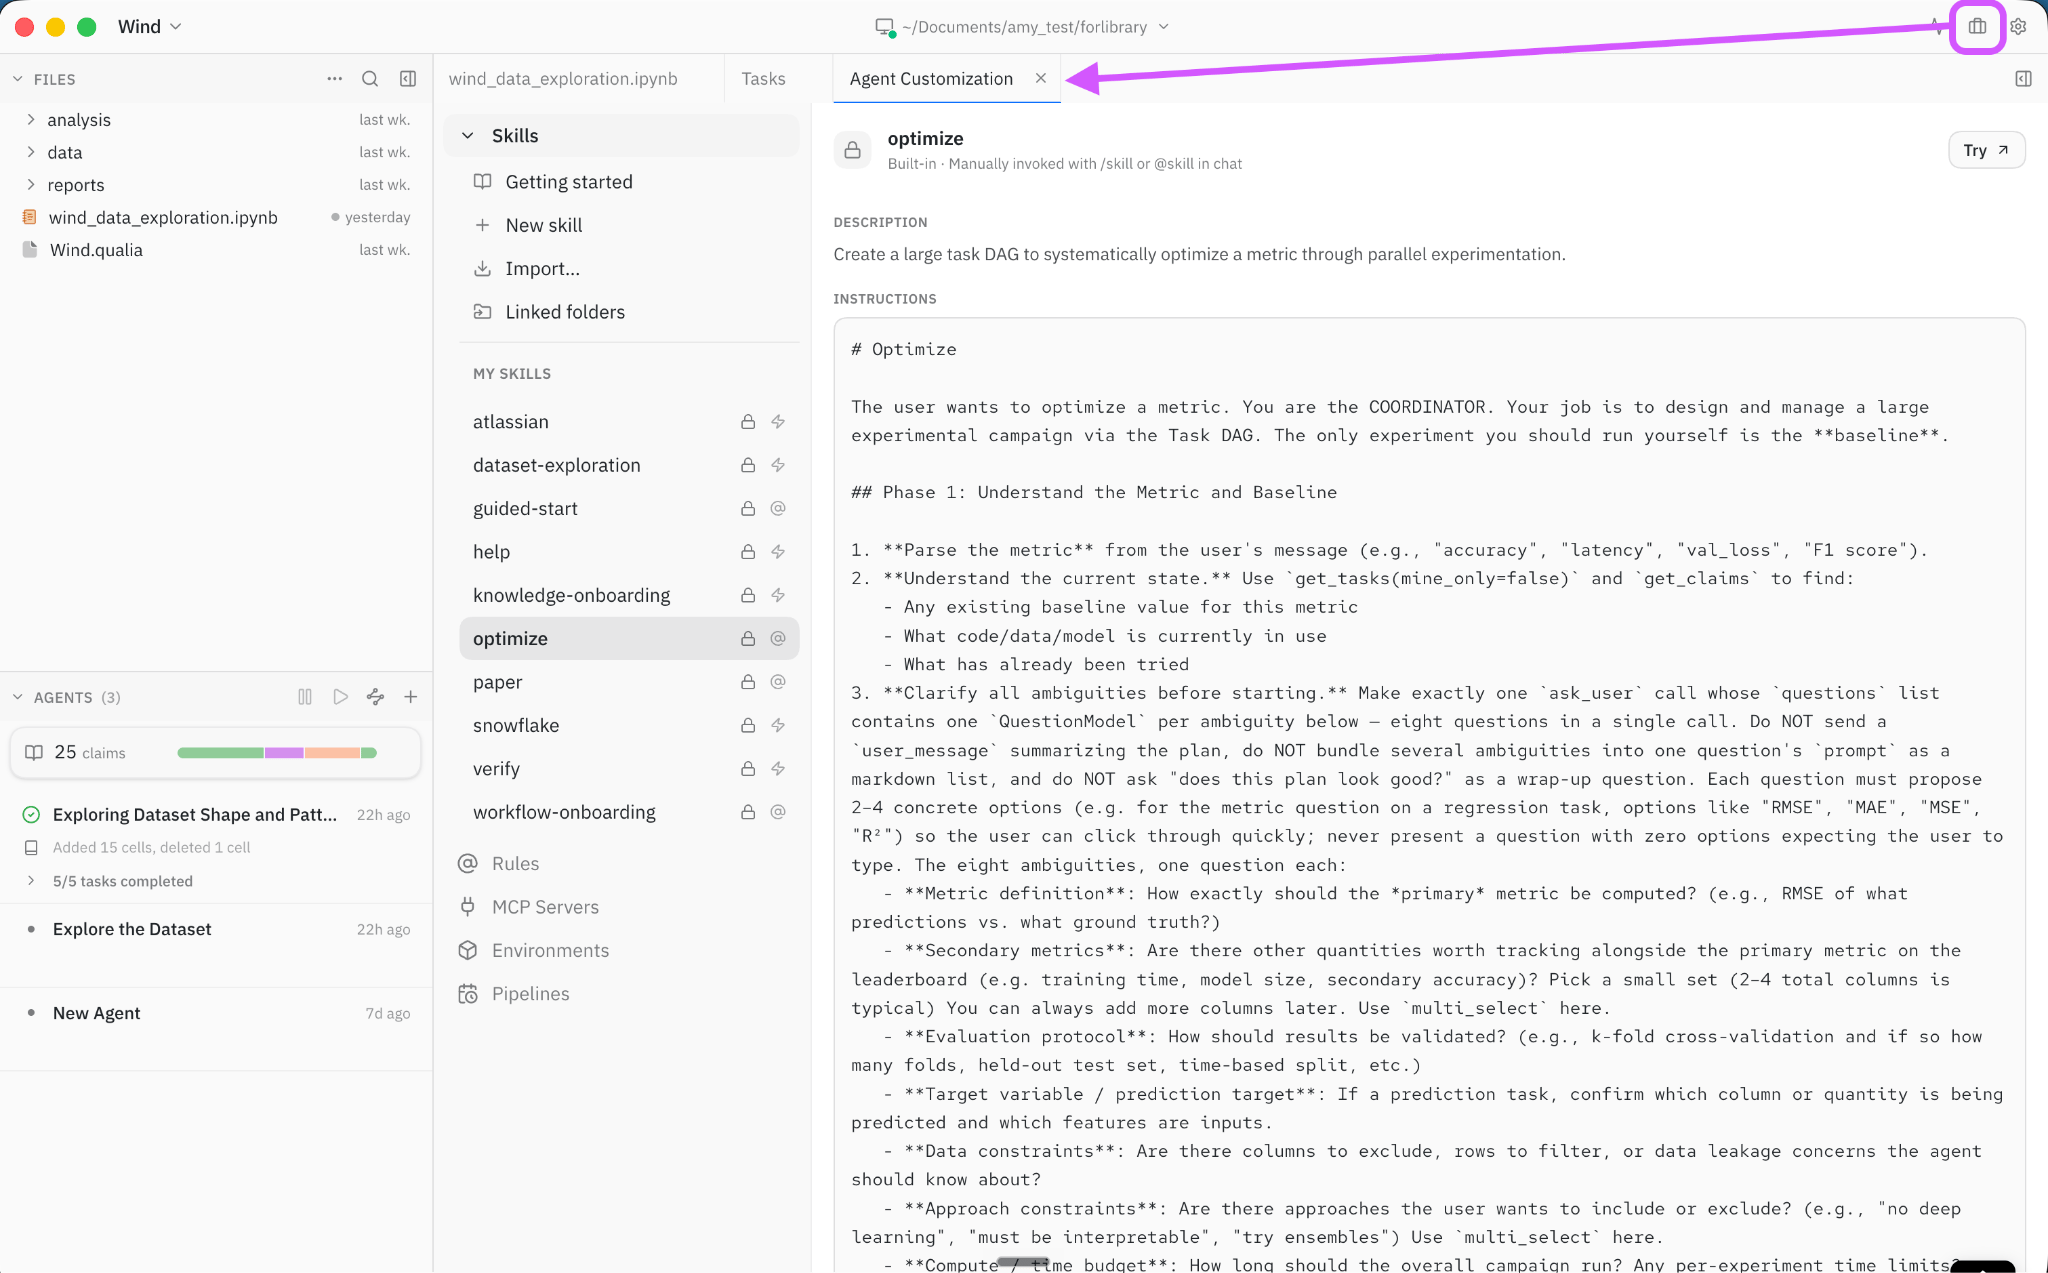
/ in the chat box to see the selectable list, and start with one of Qualia’s built-ins such as /dataset-exploration or /optimize.7
Get a research writeup
Ask in the chat to write up the findings. You get a writeup with findings, figures, and numbered citations, which you can edit alongside the notebook and export when it is ready to share.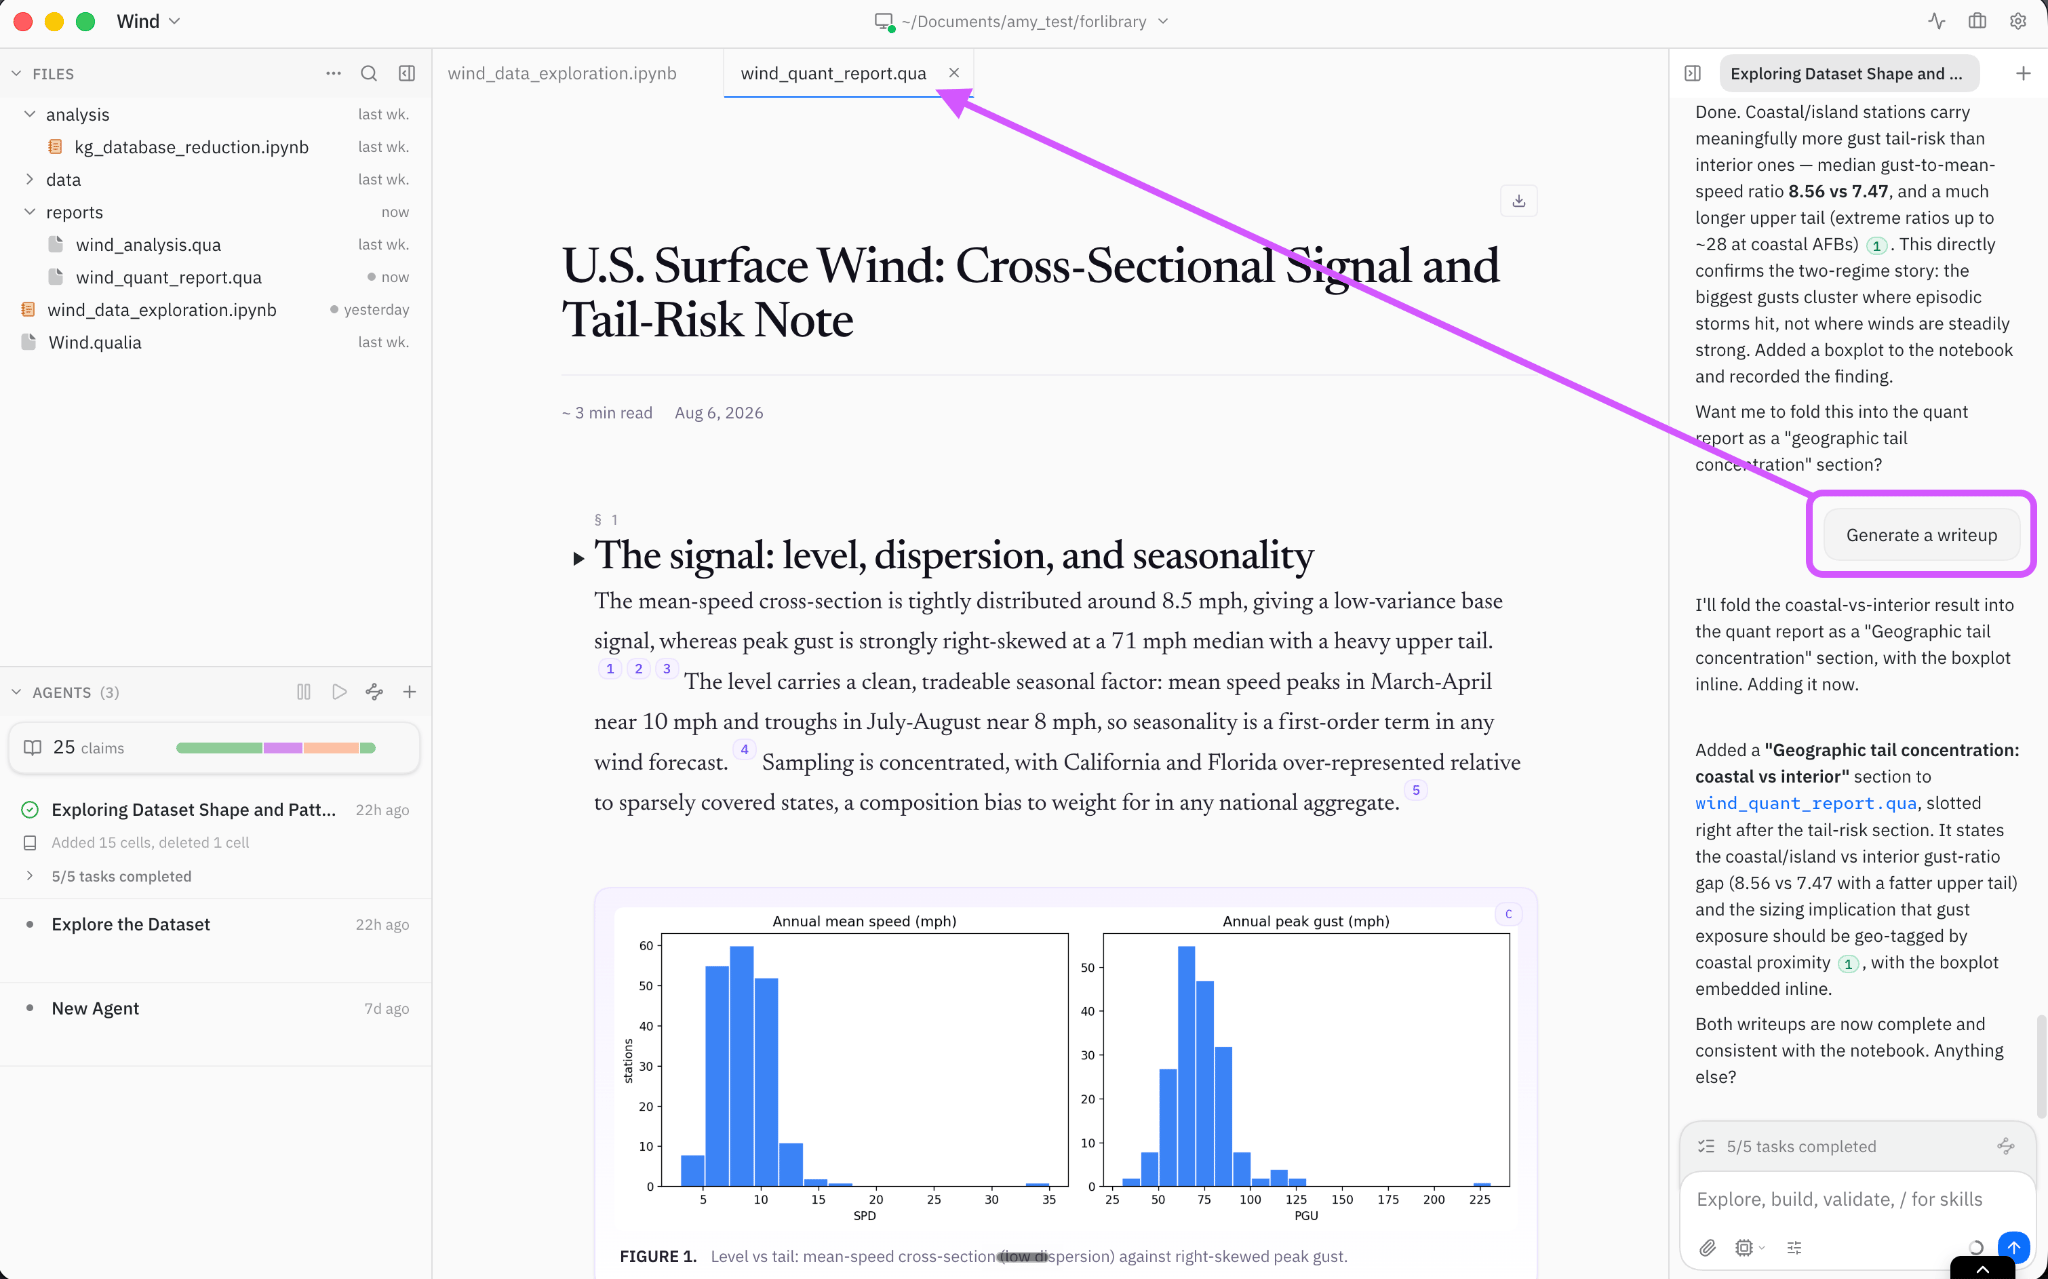
8
Trace any claim to its evidence
Click a citation in the writeup to preview its supporting evidence. Choose Open in Knowledge on a finding to inspect it in Project. Everything Qualia learns is stored there and persists across sessions, so later work builds on what earlier work established rather than rediscovering it.
Next steps
- Chat & AI — More on prompting and research style settings
- Notebooks — Cell operations, keyboard shortcuts, and exports
- Tasks — Deep dive into the task system
- Knowledge System — Learn about claims and evidence
- Agents — Running parallel experiments
- Skills — Save, write, and import reusable workflows
- Writeups — Research documents with citations
- Autonomous Mode — Extended independent work with Slack updates
- Rules — Add persistent instructions to guide AI behavior
- Settings — Configure models, appearance, and more